
How to install Maven on Windows 10
Maven is build tool primary for Java projects. In this tutorial I will describe how to install maven on Windows 10 operating system.
Download and install Java
To use maven we need to install Java first. If maven is used for Java projects java jdk
should be installed, otherwise jre
would be enough. Jdk or Jre could be found here.
Download maven
After Java (jre or jdk) is installed we need to download Apache Maven from official web site https://maven.apache.org/download.cgi. Currently the latest Maven version is 3.3.9. So we need to download apache-maven-3.3.9-bin.zip. After archive is downloaded we need to extract it, e.g. to c:\maven
Add System variables
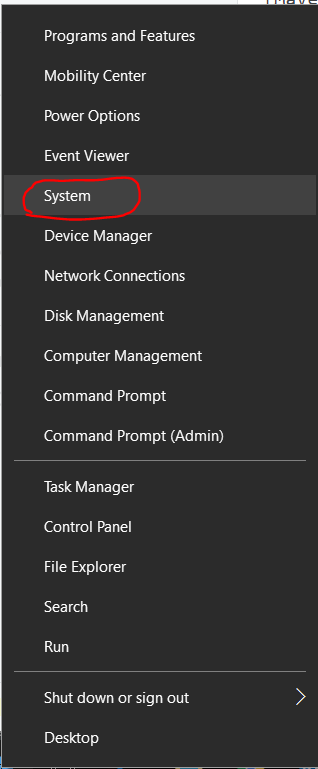
Right click on the Start button and select System:
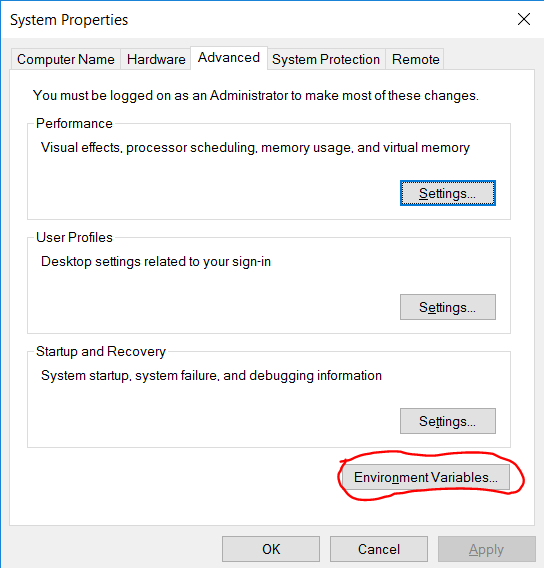
In the System window click on Advanced system settings in the left menu. System properties pop-up will be opened.
Click on Environment Variables:
Now we need to add the following variables to the System variables:
JAVA_HOME
M2_HOME
MAVEN_HOME
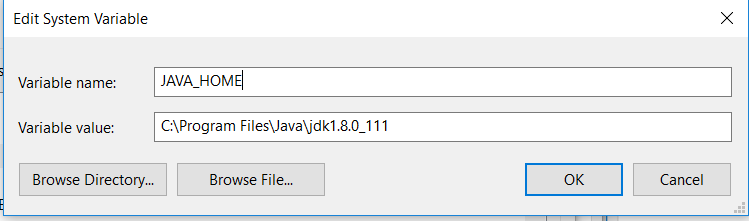
Add JAVA_HOME variable
JAVA_HOME points to the folder where java is installed and should have the value like this:
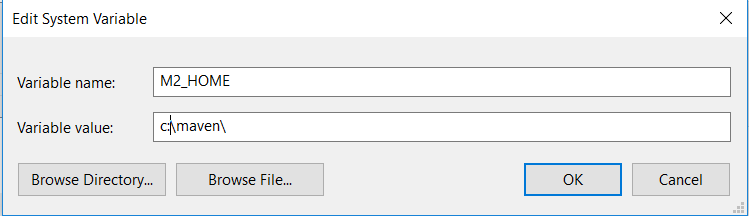
Add M2_HOME and MAVEN_HOME variables
M2_HOME and MAVEN_HOME variables should have the same value and point to the folder where maven was extracted:
Add Maven to PATH variable
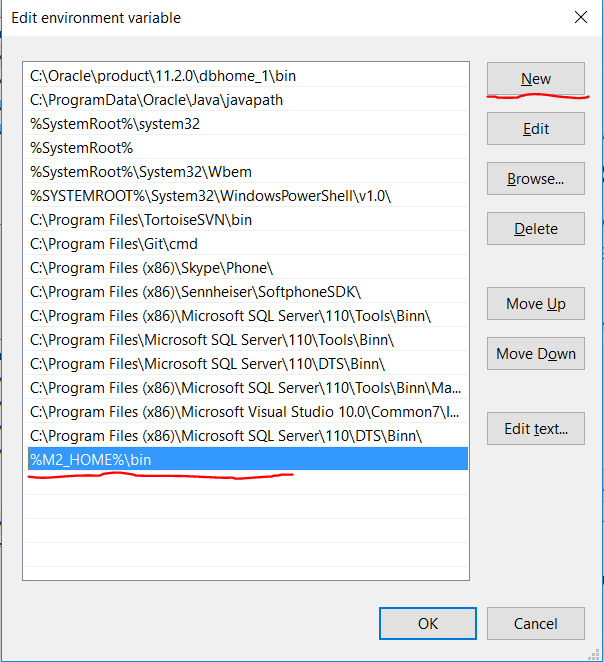
Find the PATH variable in System variables and click on Edit button. The Edit environment variable pop-up will be opened.
Press the New button and add the following value:
%M2_HOME%\bin
Verify installation
Open terminal (command prompt) and enter the following:
mvn –v
The output should look like:
Apache Maven 3.3.9 (bb52d8502b132ec0a5a3f4c09453c07478323dc5; 2015-11-10T19:41:47+03:00)
Maven home: D:\tools\maven
Java version: 1.8.0_111, vendor: Oracle Corporation
Java home: C:\Program Files\Java\jdk1.8.0_111\jre
Default locale: en_US, platform encoding: Cp1252
OS name: "windows 10", version: "10.0", arch: "amd64", family: "dos"